

How to Install Google Analytics Tracking Code on Your Website: A Step-by-Step Guide
How to Install Google Analytics Tracking Code on Your Website: A Step-by-Step Guide
If you’re running a website—be it an e-commerce platform, a personal project, or a professional portfolio—knowing who visits your site and how they interact with it is more valuable than ever. Google Analytics stands out as a powerful tool that offers insights into traffic sources, user engagement, device types, session durations, and so much more. The process of getting it set up doesn’t need to be intimidating. In fact, once you break down the steps, you’ll find it both practical and rewarding.
Let’s take a closer look at what it takes to get Google Analytics up and running and how you can make the most of the data it collects right from the outset.
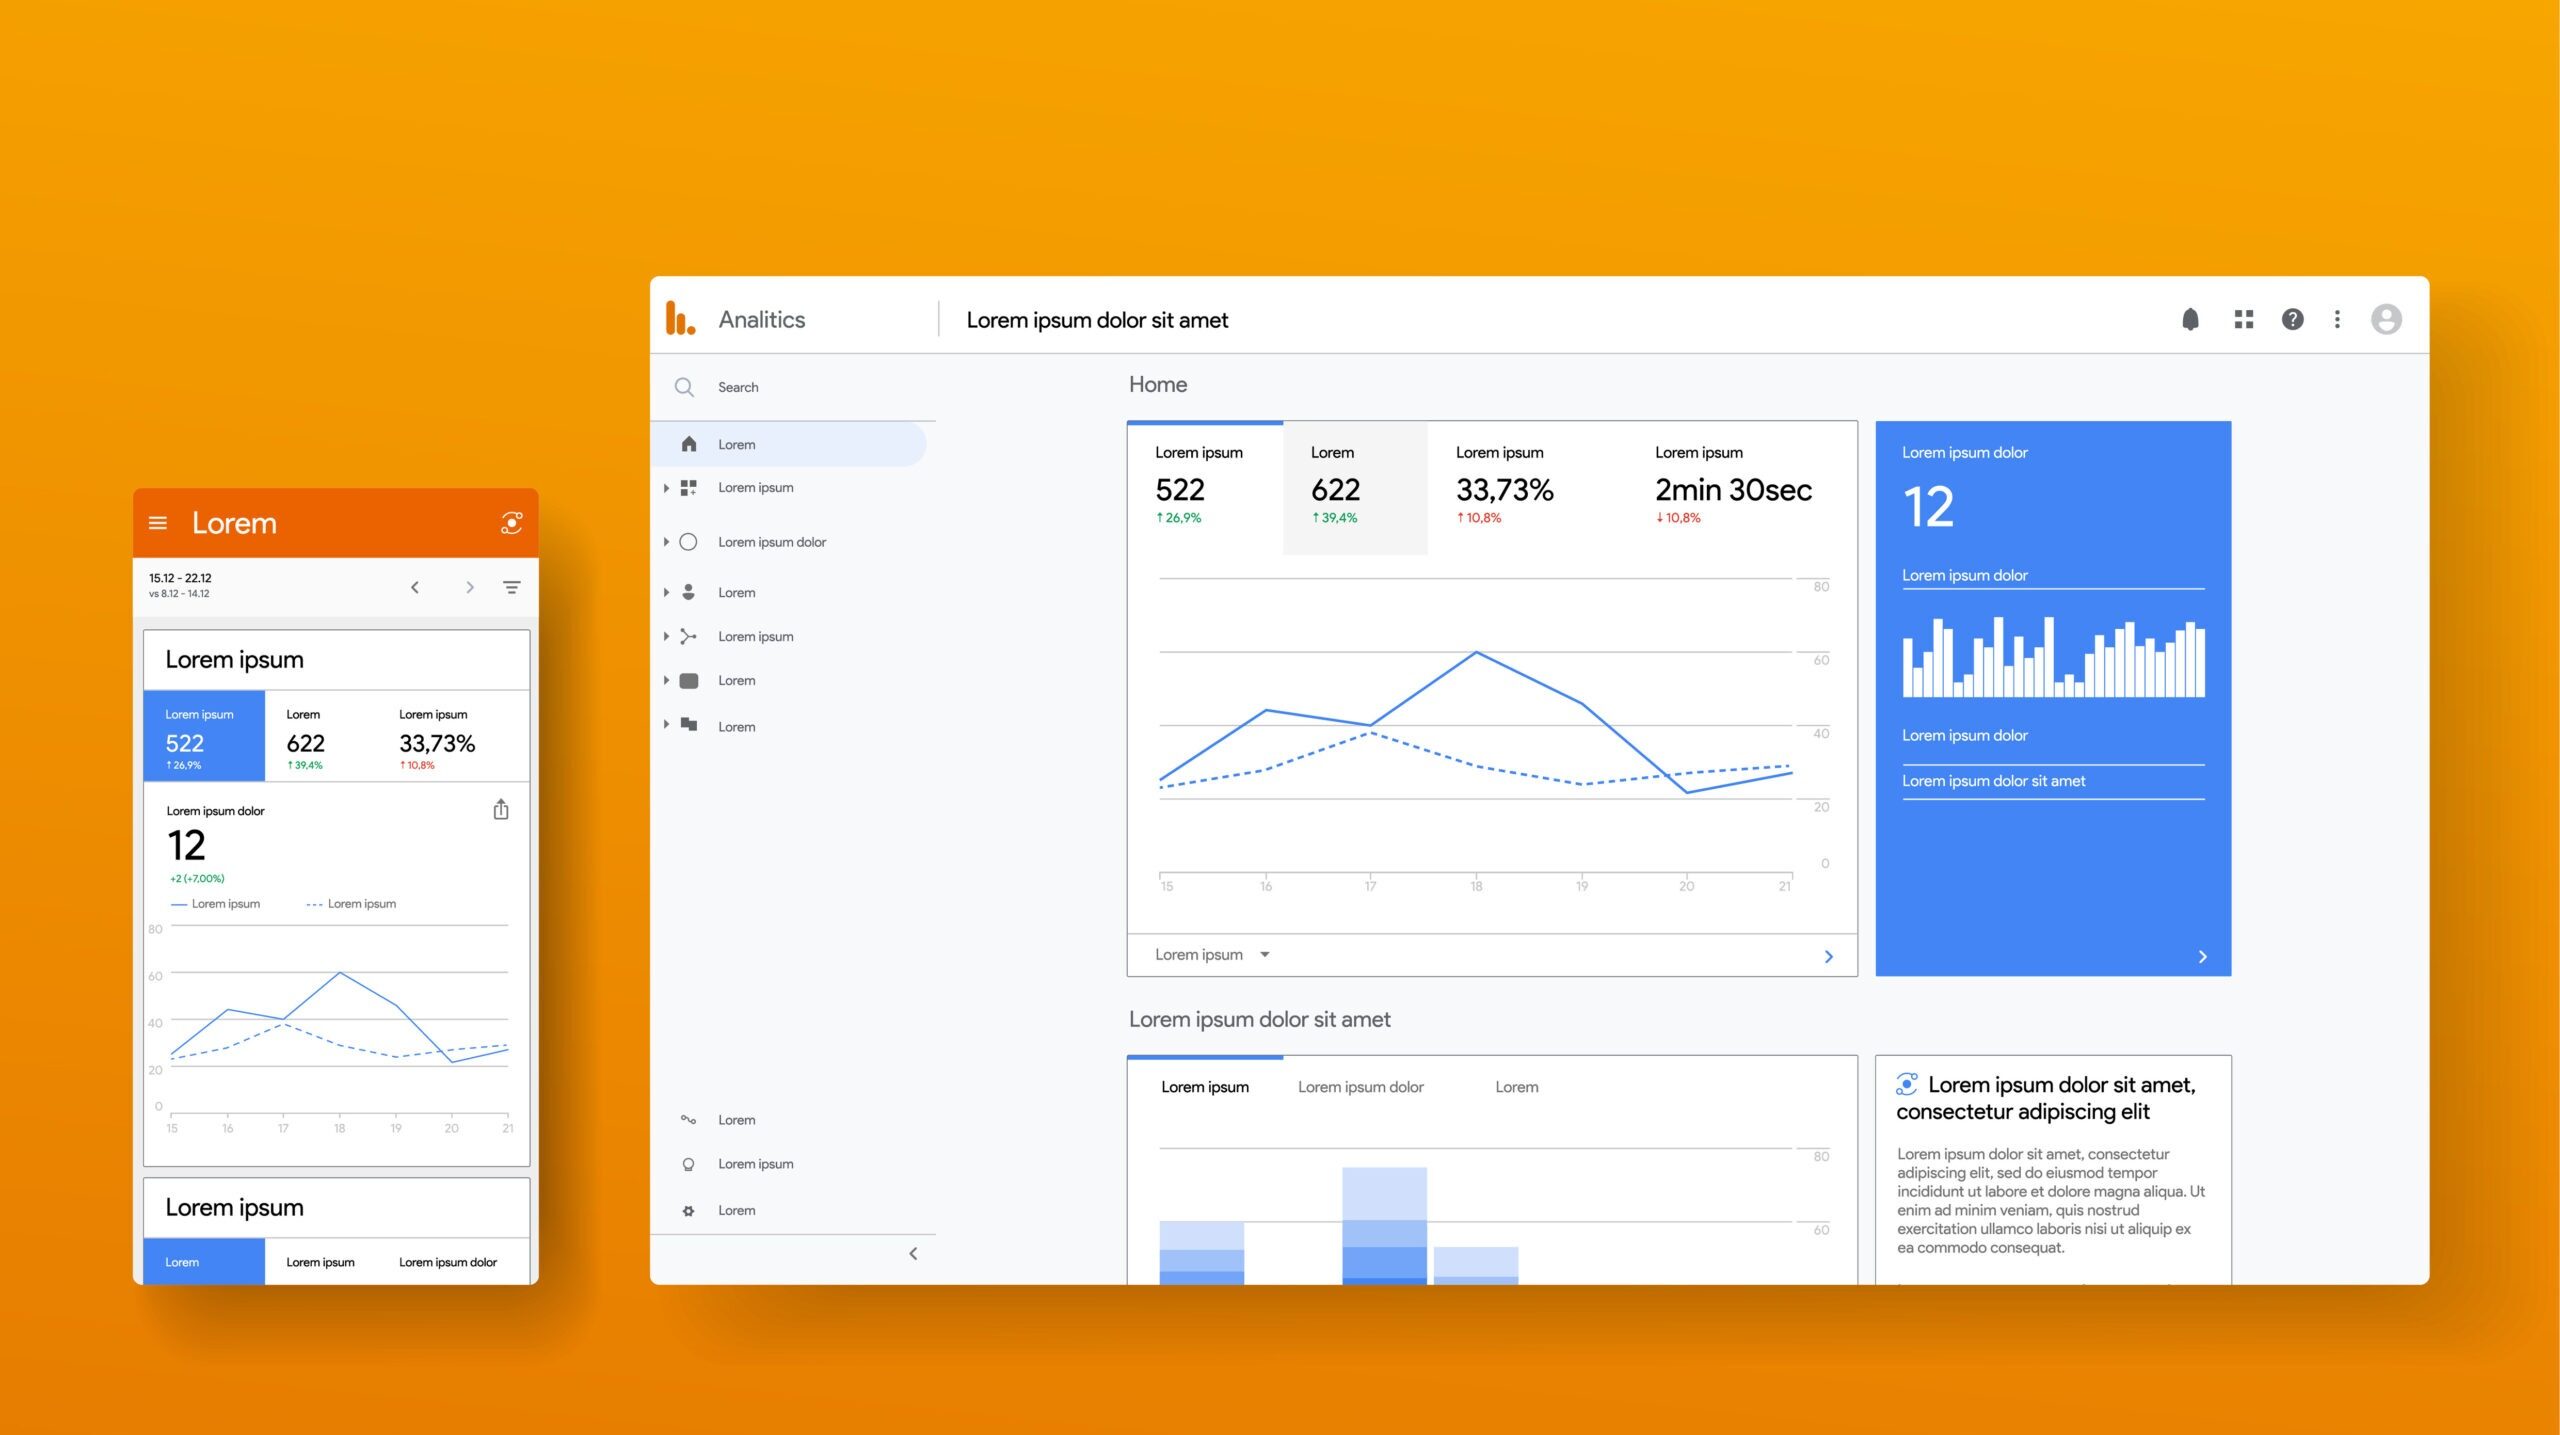
Why Google Analytics is Worth Your Attention
Tracking user behaviour isn’t just for massive corporations. Small businesses, niche bloggers, non-profits, and even casual hobbyists stand to benefit. Some rewards include:
- Spotting which pages or products draw the most attention, helping to sharpen marketing efforts.
- Understanding demographic information to tailor content more effectively.
- Pinpointing user journeys and identifying bottlenecks or drop-off points.
- Accessing detailed reports that simplify decision-making.
- Measuring campaign effectiveness to maximise return on investment.
Gaining these insights starts with a simple yet vital task: installing the Google Analytics tracking code on your website.
Preparing for Installation: What You’ll Need
Before diving in, ensure a few basics are in place. Here’s a checklist to keep things organised:
- Google Account: You’ll need a Google account to access Google Analytics.
- Website Access: Administrative or editing rights to the website where the code will be added.
- CMS Details (if any): If your site uses a content management system (CMS), such as WordPress or Shopify, knowing how to edit header or script files is key.
- Familiarity with Website Structure: Knowing where your site’s tag is or how your CMS handles scripts smooths out the process.
A quick bit of prep here saves a world of confusion later.
Setting up Google Analytics: Getting the Tracking Code
The process starts at the Google Analytics website. If this is your first time, you’ll create a property; for returning users, adding additional properties is similar. Here’s a step-by-step overview:
- Sign in at Google Analytics.
- Click on the “Admin” gear icon in the lower left.
- Under “Account”, either select your current account or create a new one.
- Under “Property”, choose “Create Property”.
- Enter your website’s name, URL, and set your reporting time zone and currency.
- Select your “Industry Category” and the business size.
- Complete the setup prompts, then click “Next.”
Once you reach the end, Google Analytics will offer you a “Web Stream” for data collection. When prompted, you’ll see a “Global Site Tag” (often labelled as “gtag.js”). This script snippet needs to be placed into the HTML of your site.
The Tracking Code Looks Like This:
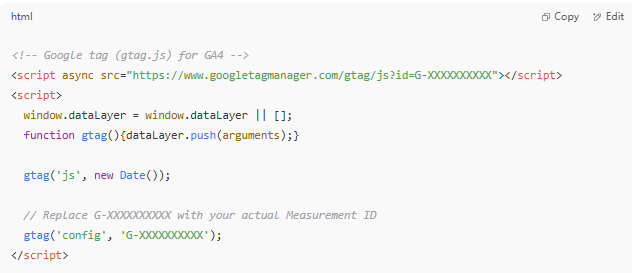
You’ll notice a property ID, which is unique to your site.
Installing the Code Manually
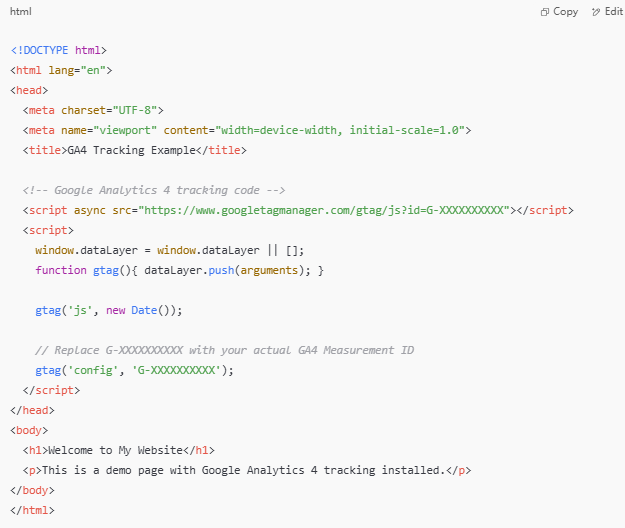
If you have direct access to your site’s HTML, manual insertion is straightforward.
For Traditional HTML Websites: Open your main HTML template (often named or similar). Insert the provided script just before the closing tag.
Step-by-step:
- Locate the section of your site’s main template.
- Paste the entire Google Analytics code snippet there.
- Save and upload the file back to your server.
For PHP-Based Sites or Frameworks: Templates like or include at the start of every page are your targets. Paste the script in the same place, just before.
Using a CMS: WordPress, Shopify, or Wix
Platforms take some grunt work out of managing scripts but require a slightly different approach.
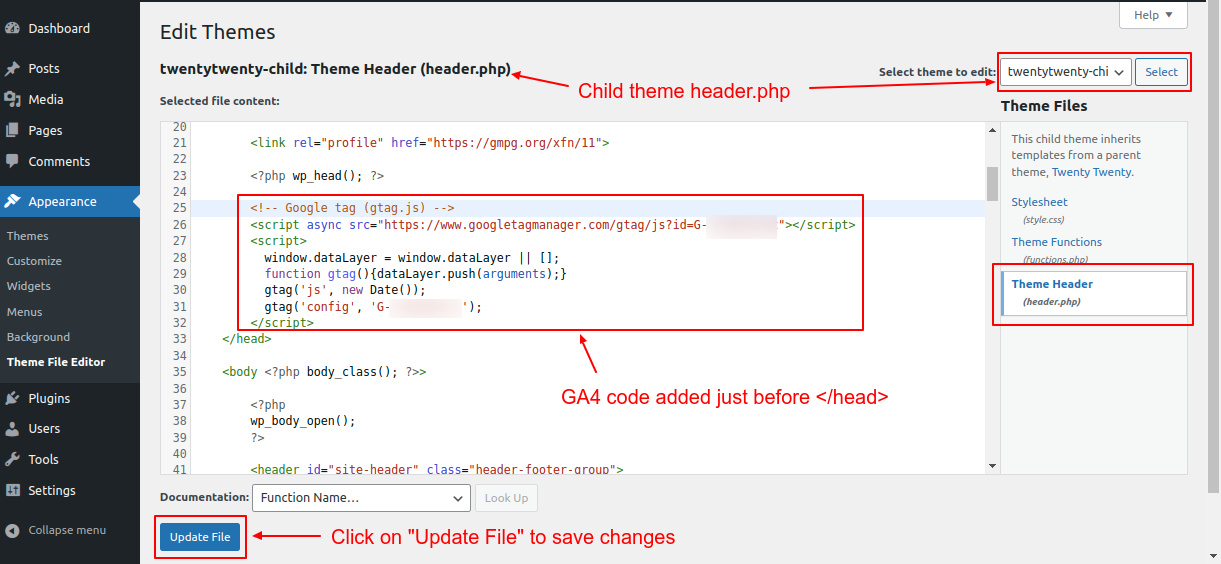
WordPress
You have a few reliable options:
- Theme Editor: Navigate to Appearance > Theme Editor, and locate. Paste the Analytics code just before.
- Plugin Method: Popular plugins like “Insert Headers and Footers” or “Header Footer Code Manager” allow script additions without editing files directly. Install your chosen plugin, then paste your code into the “Header” section provided.
Shopify
Shopify has its own way:
- From your admin panel, go to Online Store > Themes > Actions > Edit Code.
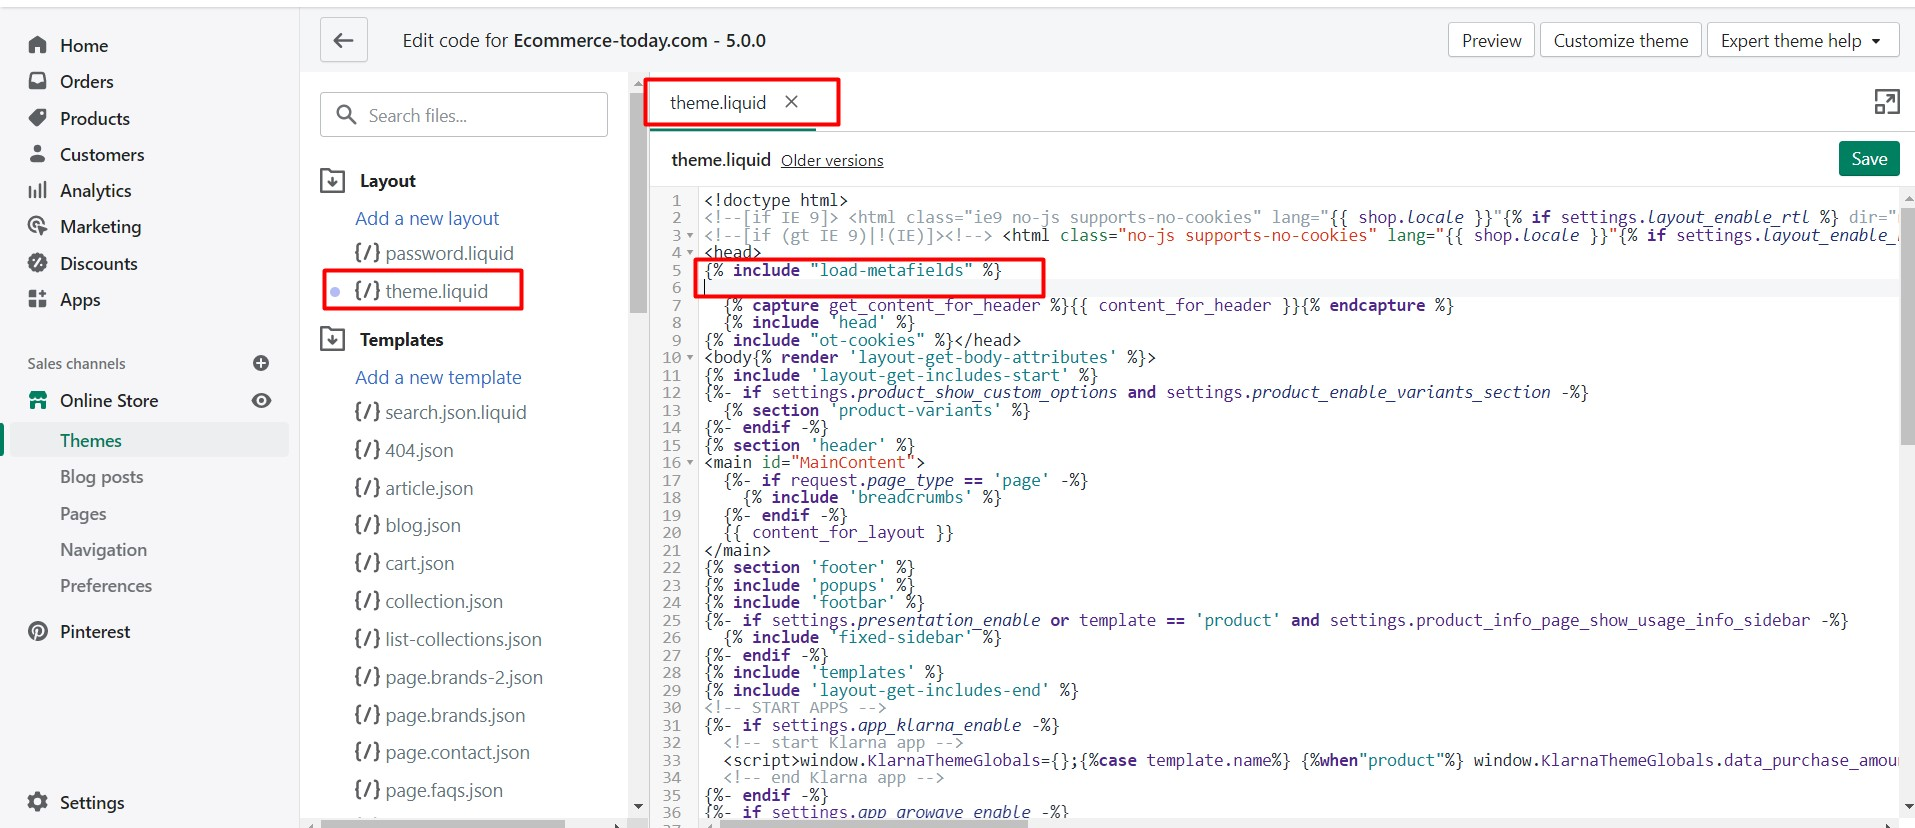
- Locate the main theme layout file.
- Place the Analytics script just before.
- Save your changes.
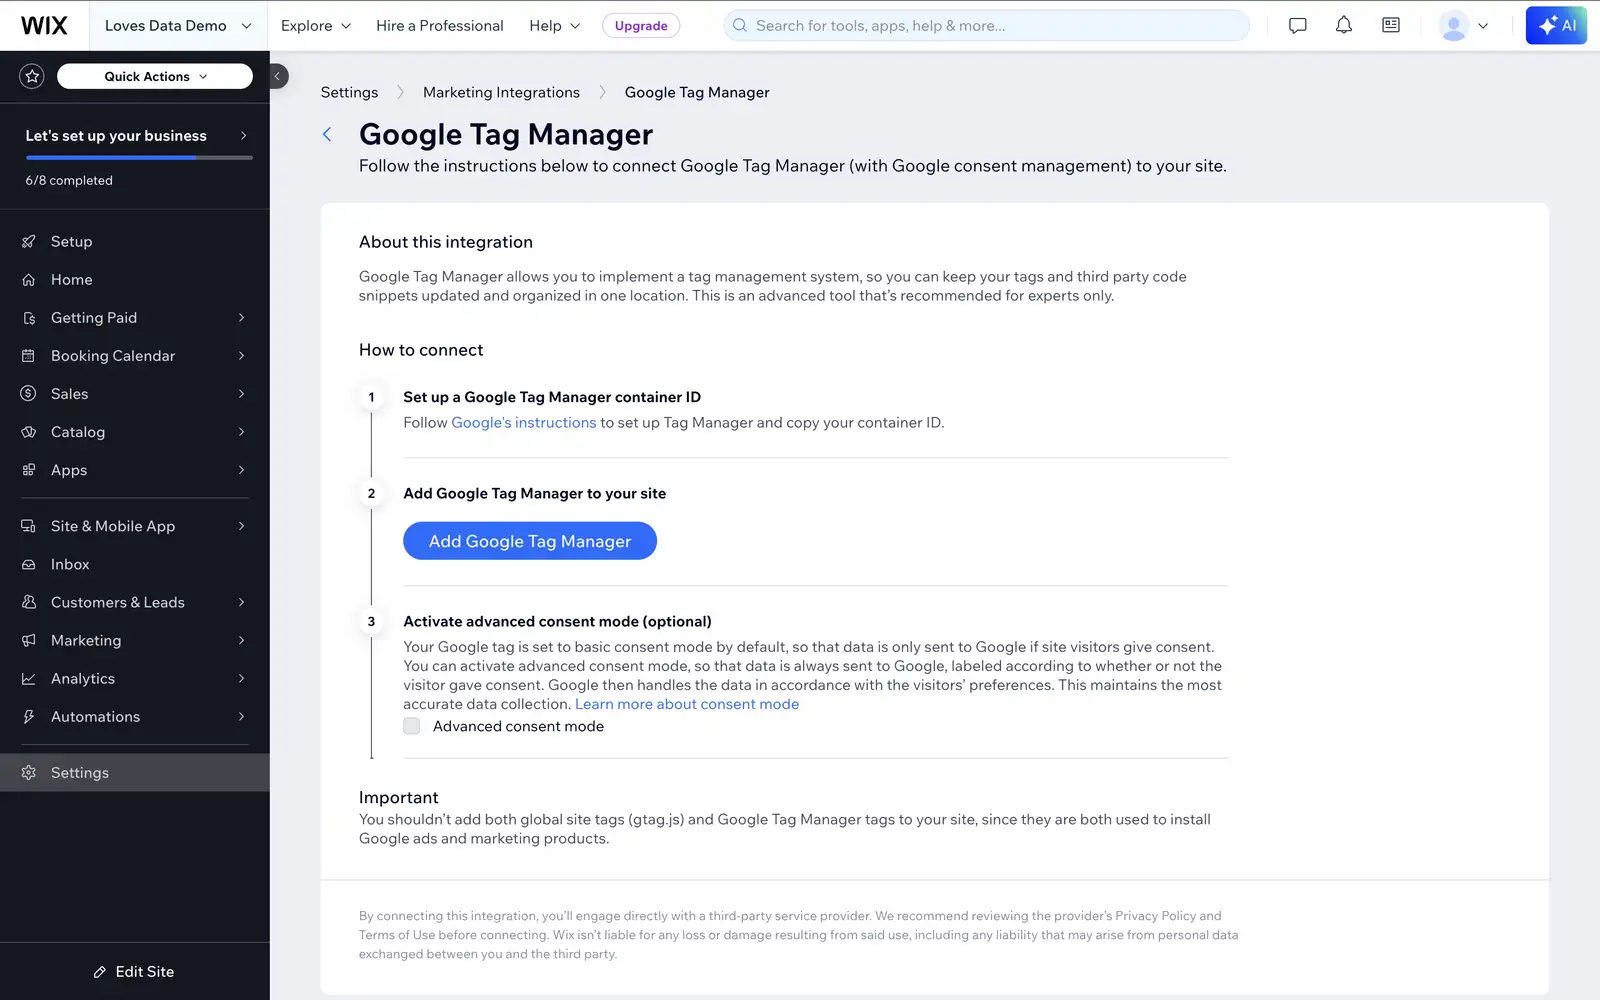
Wix
Wix users can add tracking tools:
- In your Wix dashboard, open “Settings”, then “Tracking & Analytics”.
- Click “New Tool” and choose “Custom”.
- Paste your Google Analytics code, select “Head” and ensure it applies to all pages.
- Publish changes.
Other Platforms
Most platforms offer a similar custom code section, commonly under theme, global, or settings menus. Look for options related to sitewide or head code injections.
Google Tag Manager: An Alternative Option
If you already use Google Tag Manager (GTM), you can install your Analytics tracking without editing code files at all.
Here’s a brief guide:
| Step | What to Do |
|---|---|
| 1. Open GTM | Login at Google Tag Manager |
| 2. Create a Tag | Click “Add a new tag” |
| 3. Tag Type | Choose “Google Analytics: GA4 Configuration” |
| 4. Measurement ID | Place your site’s unique ID (starts with G-) |
| 5. Trigger | Set to “All Pages” |
| 6. Save & Publish | Hit “Submit” to activate |
GTM is great for complex tracking set-ups, testing, and future integrations with marketing or analytics tools.
Verifying the Installation
Once the script is in place, giving it a check is critical. Errors can sneak in, especially if your site uses heavy caching, minification plugins, or third-party themes.
Some troubleshooting steps:
- Google Tag Assistant: Chrome’s browser extension quickly verifies if Google Analytics is firing.
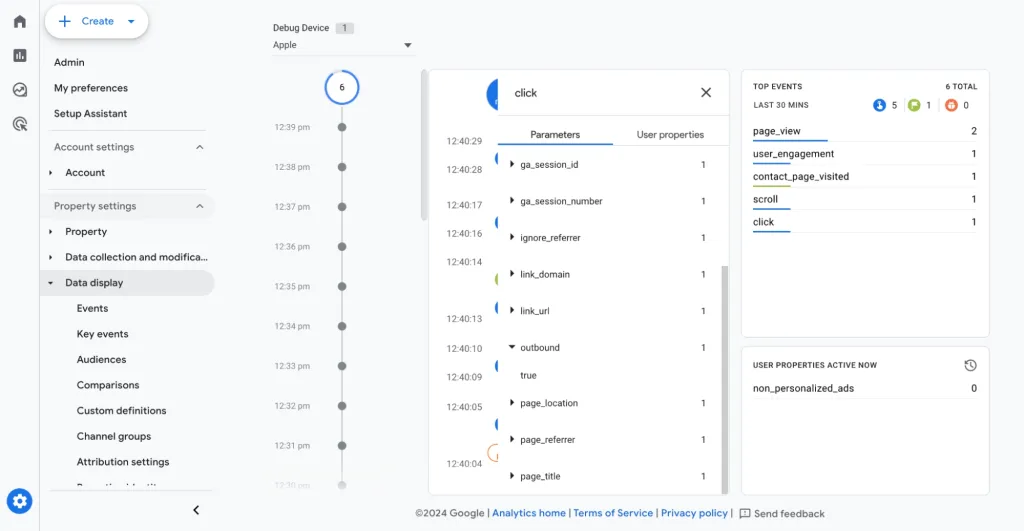
- Real-Time Reports: Open Google Analytics, go to Reports > Real-Time, and visit your site in a new browser tab. If your visit shows up, your code is working.
- Network Tab: In Chrome DevTools, look at “Network” for outgoing requests to .
Remember, minor delays or caching might mean data takes a few minutes to appear.
Things to Watch Out For
Getting the code installed is just part of the picture. A few common missteps can trip up the best of us:
- Duplicate Tags: Adding the script twice will skew data. Triple-check for more than one code block.
- Page Builders/Plugins: Some plugins already insert Analytics automatically. Avoid conflicts by disabling duplicates.
- Domain Mismatch: Make sure your property ID matches the correct domain.
- Blocking Scripts: Ad blockers can interfere with verification; try an incognito/private session or a different browser if you’re not seeing activity.
Maximising Value from Google Analytics
Installation opens the gateway to better site decisions, but a few tweaks can make your reporting work harder for you.
Consider these for your next steps:
- Set up Goals: Track key events, like purchases, sign-ups, or downloads.
- Link with Google Search Console: Combine search data with user behaviour.
- Custom Dashboards: Highlight the metrics that matter most to you.
- Filter Your Traffic: Exclude your own visits using a filter, so you don’t contaminate your stats.
Customisation is where analytics transforms from numbers into actionable insight. If you’re ready to dive deeper, check out our comprehensive guide on how to use Google Analytics for beginners to unlock even more value from your data.
Comparing Manual, Plugin, and Tag Manager Methods
Here’s a simple assessment for choosing your installation method:
| Method | Ease of Use | Maintenance | Flexibility | Best For |
|---|---|---|---|---|
| Manual | Moderate | Low | Medium | Static or custom sites |
| Plugin | Easy | Moderate | Low-Medium | WordPress, non-technical users |
| Tag Manager | Moderate-High | High | High | Agencies, advanced setups |
Pick the one that fits both your skills and future needs.
Quick Recap Checklist
Before moving on, make sure you’ve covered each point:
- Created GA property and noted tracking ID
- Installed on every page (site-wide in header)
- Checked for double-insertion
- Verified with Tag Assistant/Real-Time report
- Set up initial goals or reporting views
With these steps, your site is set to start gathering valuable data, offering insights that will help sharpen your strategy and fuel your growth. Every visit, click, and pageview is an opportunity to fine-tune your online presence. If you have any questions ,feel free to contact our digital marketing team We will provide you with free consultation